Reverse Engineering Bluetooth LED Strips with Wireshark and Python
2023-04-14
There are plenty of cheap LED light strips available on Amazon that are controlled via IR and proprietary-mobile-app Bluetooth, but ones with programmatic control cost significantly more. I decided to try to reverse engineer the "FGRYB LED Strip".
The first step was to get an idea of what the mobile app actually did. The Android documentation describes how to collect Bluetooth logs:
- Enable Bluetooth HCI Snoop log
- Carry out actions (The docs say you need to reboot - I didn't need to)
- Collect a bugreport
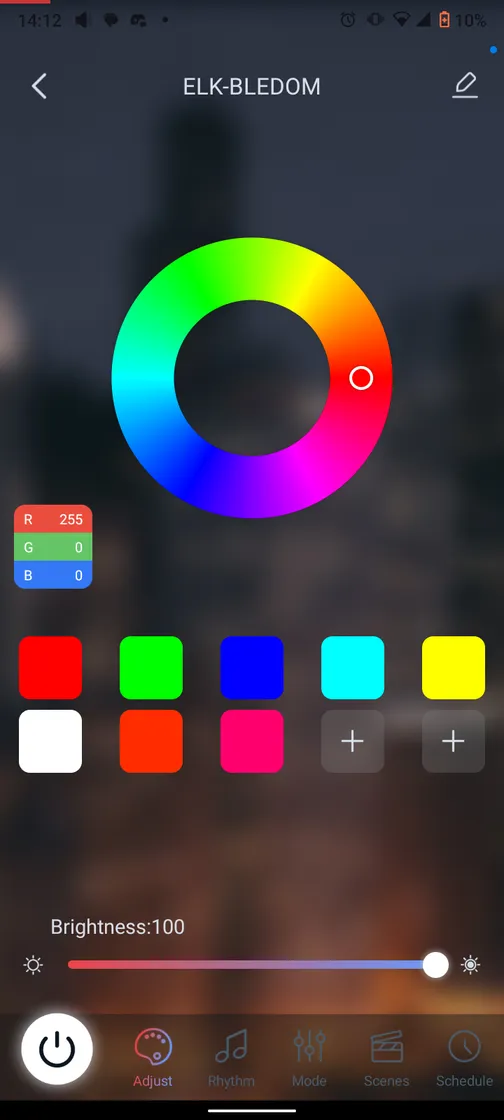
I went through the Lotus Lamp X app, changing various options and noting down my actions.

I then generated a bug report in developer options. I then connected my phone to my computer via USB and ran adb devices to connect over adb.
adb bugreport then downloaded the bug report to my computer as a zip file. Once unzipped the bluetooth logs were in FS/data/misc/bluetooth/logs/btsnoop_hci.log. I opened them in Wirehsark.
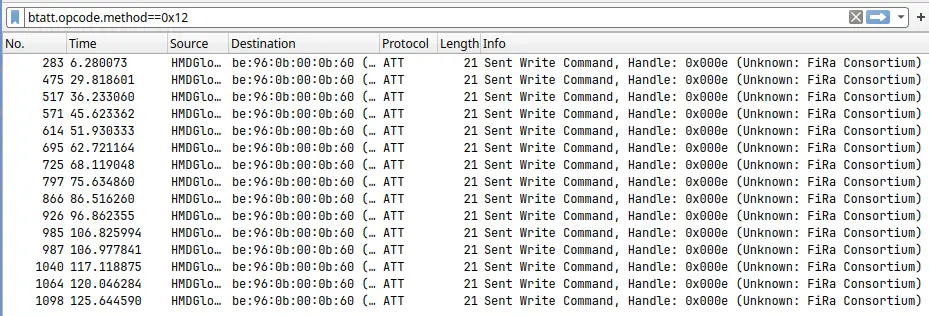
There were far too many logs to manually analyze each one - 4000 in my case. I began by filtering for btatt, which brought it down to 45 logs. I'm only interested in the write requests, so I filtered it further with btatt.opcode.method==0x12.

I then looked at the data in each request:

Once I had retrieved the data I started matching it up with my notes. I didn't quite have actions=>data lined up, but it was close enough to work out the protocol:
CONNECT

Begins on 255,0,0
Then 0,255,0                0000   7e 06 83 15 37 37 04 00 ef
Then 0,0,255                0000   7e 07 05 03 00 ff 00 10 ef
Then 0,255,255              0000   7e 07 05 03 00 00 ff 10 ef
Then 255,255,0              0000   7e 07 05 03 00 ff ff 10 ef
Then 255,255,255            0000   7e 07 05 03 ff ff 00 10 ef
Then 255,45,0               0000   7e 07 05 03 ff ff ff 10 ef
Then 255, 0, 109            0000   7e 07 05 03 ff 2d 00 10 ef
Then 255,255,255            0000   7e 07 05 03 ff 00 6d 10 ef
Then brightness 100->56     0000   7e 07 05 03 ff ff ff 10 ef
Then brightness 56->0       0000   7e 04 01 38 01 ff 02 01 ef
Then brightness 0->9        0000   7e 04 01 04 01 ff 02 01 ef
Then off                    0000   7e 04 01 03 01 ff 02 01 ef
Then on                     0000   7e 04 01 09 01 ff 02 01 ef

Unmatched:
0000   7e 07 04 00 00 00 02 01 ef
0000   7e 07 04 ff 00 01 02 01 ef
Rather than relying on analysis alone to work out the protocol I set up Bleak on my Raspberry Pi. This allowed me to create and send test messages in order to check if my theories were correct.
Bleak needs a MAC address and a UUID to connect. I already had the address from Wireshark, but the UUID proved more difficult. I found it through nRF Connect and some trial and error.
We've got the MAC address from wireshark, but the UUID is more difficult. While the service UUID is available through wireshark, I found it through the nRF Connect android app and some trial and error.
I wrote some code to test a known command:
import asyncio
from bleak import BleakClient

address = "[REDACTED]".upper()
uuid = "[REDACTED]"

async def run():
    async with BleakClient(address) as client:
        data = bytes.fromhex("7e 07 05 03 00 ff 00 10 ef")
        await client.write_gatt_char(uuid, data)

asyncio.run(run())
The code turned the lights green. That was interesting, because it was lined up with THEN 0,0,255 but changed to 0,255,0. I had clearly made a mistake when assigning actions to messages, but that was OK - I could continue with the trial-and-error approach.
I continued to experiment, modifying the message then observing the result. I worked out that the protocol followed this pattern:
7e [command length] [action byte] [data type] [red component] [green component] [blue component] [additional data] EF
I also worked out that 7e 07 04 ff 00 01 02 01 ef turns it on.
I then wrote a wrapper:
import asyncio
from bleak import BleakClient
from random import choice

address = "[REDACTED]".upper()
uuid = "[REDACTED]"

class ControllableLight():
    def __init__(self, address, uuid):
        self.address = address
        self.uuid = uuid

    async def connect(self):
        self.client = BleakClient(self.address)
        await self.client.connect()

    async def send_msg(
        self, CMD_LENGTH,ACTION, DATATYPE, DATA_A, DATA_B, DATA_C, ADDITIONAL):
        # Weirdly formatted so it fits on the blog post
        data = bytes.fromhex(f"""7e
        {CMD_LENGTH}
        {ACTION}
        {DATATYPE}
        {DATA_A}
        {DATA_B}
        {DATA_C}
        {ADDITIONAL}
        ef""")

        await self.client.write_gatt_char(uuid, data)

    async def turn_on(self):
        # 7e 07 04 ff 00 01 02 01 ef turns it on
        await self.send_msg("07", "04", "ff", "00", "01", "02", "01")

    async def turn_off(self):
        await self.set_colour_hex(0,0,0)

    async def set_colour_hex(self, R, G, B):
        await self.send_msg("07", "05", "03", R, G, B, "10")

    async def set_colour_rgb(self, R, G, B):
        # Convert 0-255 to hex
        R = "{:02x}".format(R)
        G = "{:02x}".format(G)
        B = "{:02x}".format(B)
        await self.set_colour_hex(R,G,B)

    async def print_service_characteristics(self):
        services = self.client.services
        for service in services:
            print(str(service))
            print("Service characteristics")
            for characteristic in service.characteristics:
                print(str(characteristic))


async def main(address):
    controller = ControllableLight(address, uuid)
    await controller.connect()
    print("Connected!")
    await controller.turn_on()

    while True:
        r = choice(range(0,255))
        g = choice(range(0,255))
        b = choice(range(0,255))

        await controller.set_colour_rgb(r,g,b)
        await asyncio.sleep(0.25)

asyncio.run(main(address))
OOP worked exceptionally well due to the light being an actual physical object.
The process was surprisingly straightforward - I was able to go from an idea to a working system in an evening without any significant problems. I hope that others find this useful.